This topic is one of necessary items needed to cover.
Since it linter helps to bump code quality, format it and improve my coding habits.
In my experience I used Credo and this time is not exception.
It’s regularly updated, simple to use, has beautiful and detailed output.
Installation
Based on docs installation is as always through mix.exs
add this to deps section:
def deps do
  [
    ...
    {:credo, "~> 1.7", only: [:dev, :test], runtime: false},
    ...
  ]
end
and run:
mix deps.get
Usage
Based on docs simply run
mix credo
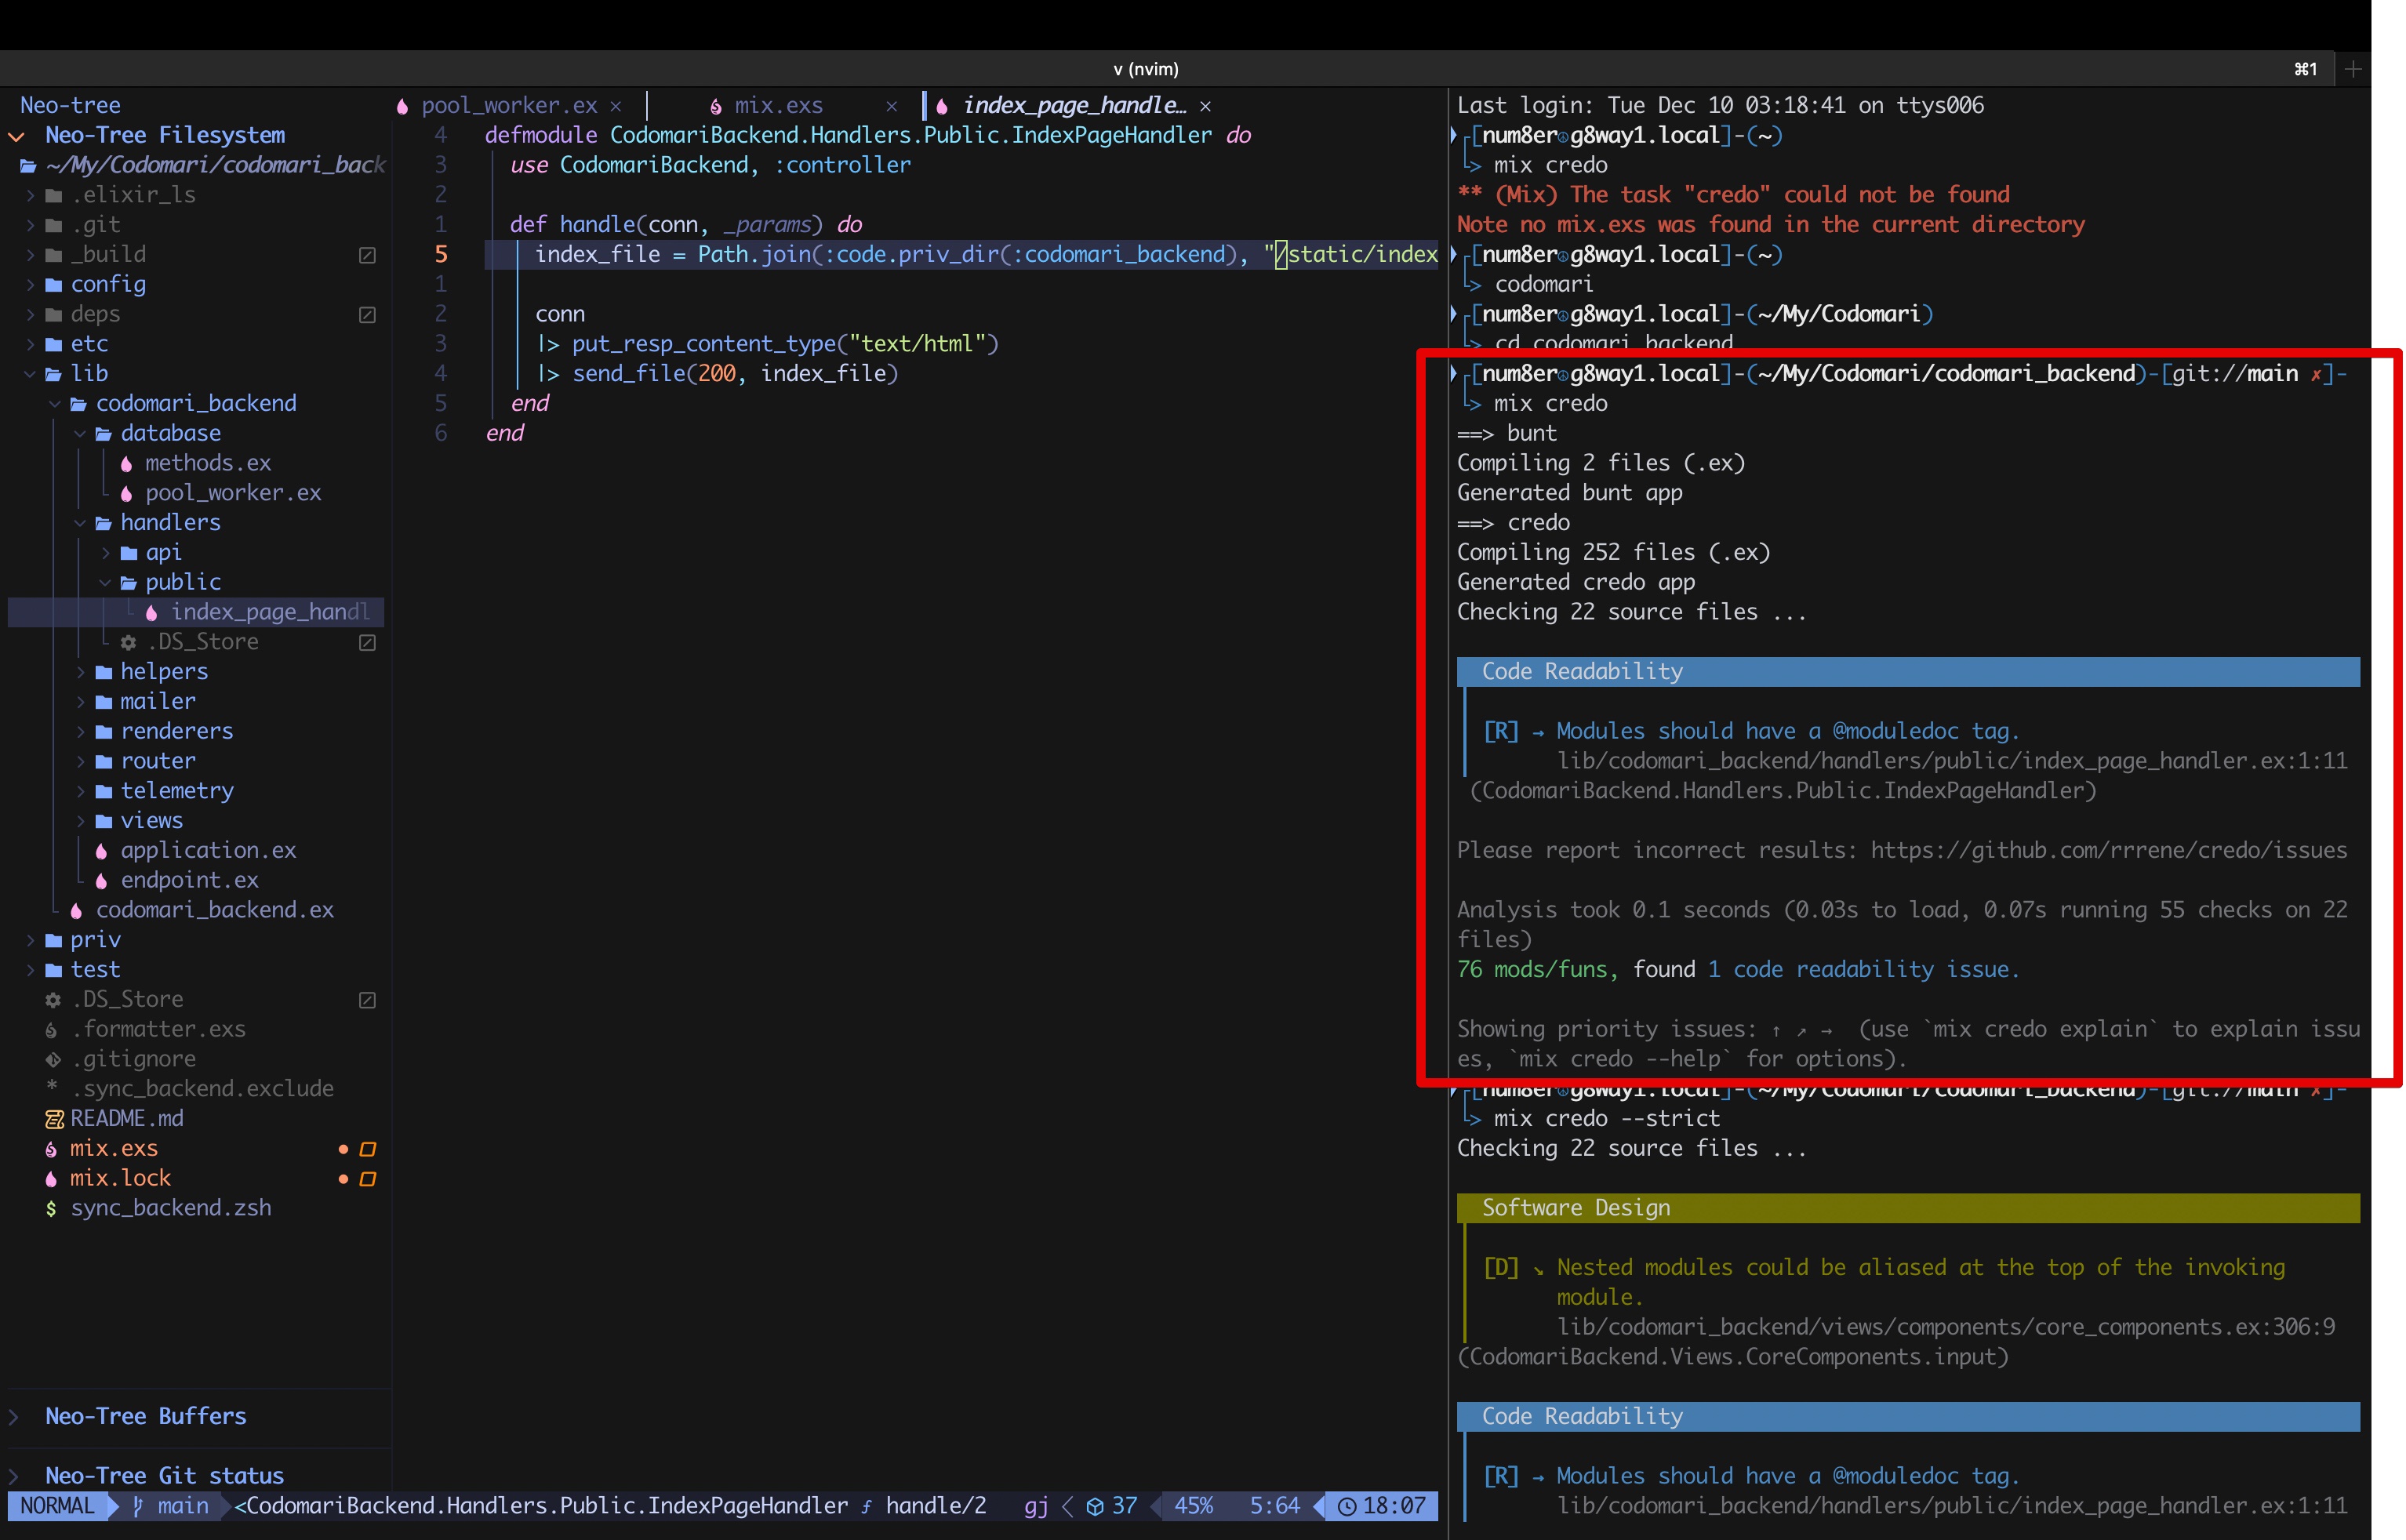
as You can see it’s easy to run.
But! We need more advanced usage!
If we run with --strict flag it will show all defects in our code.
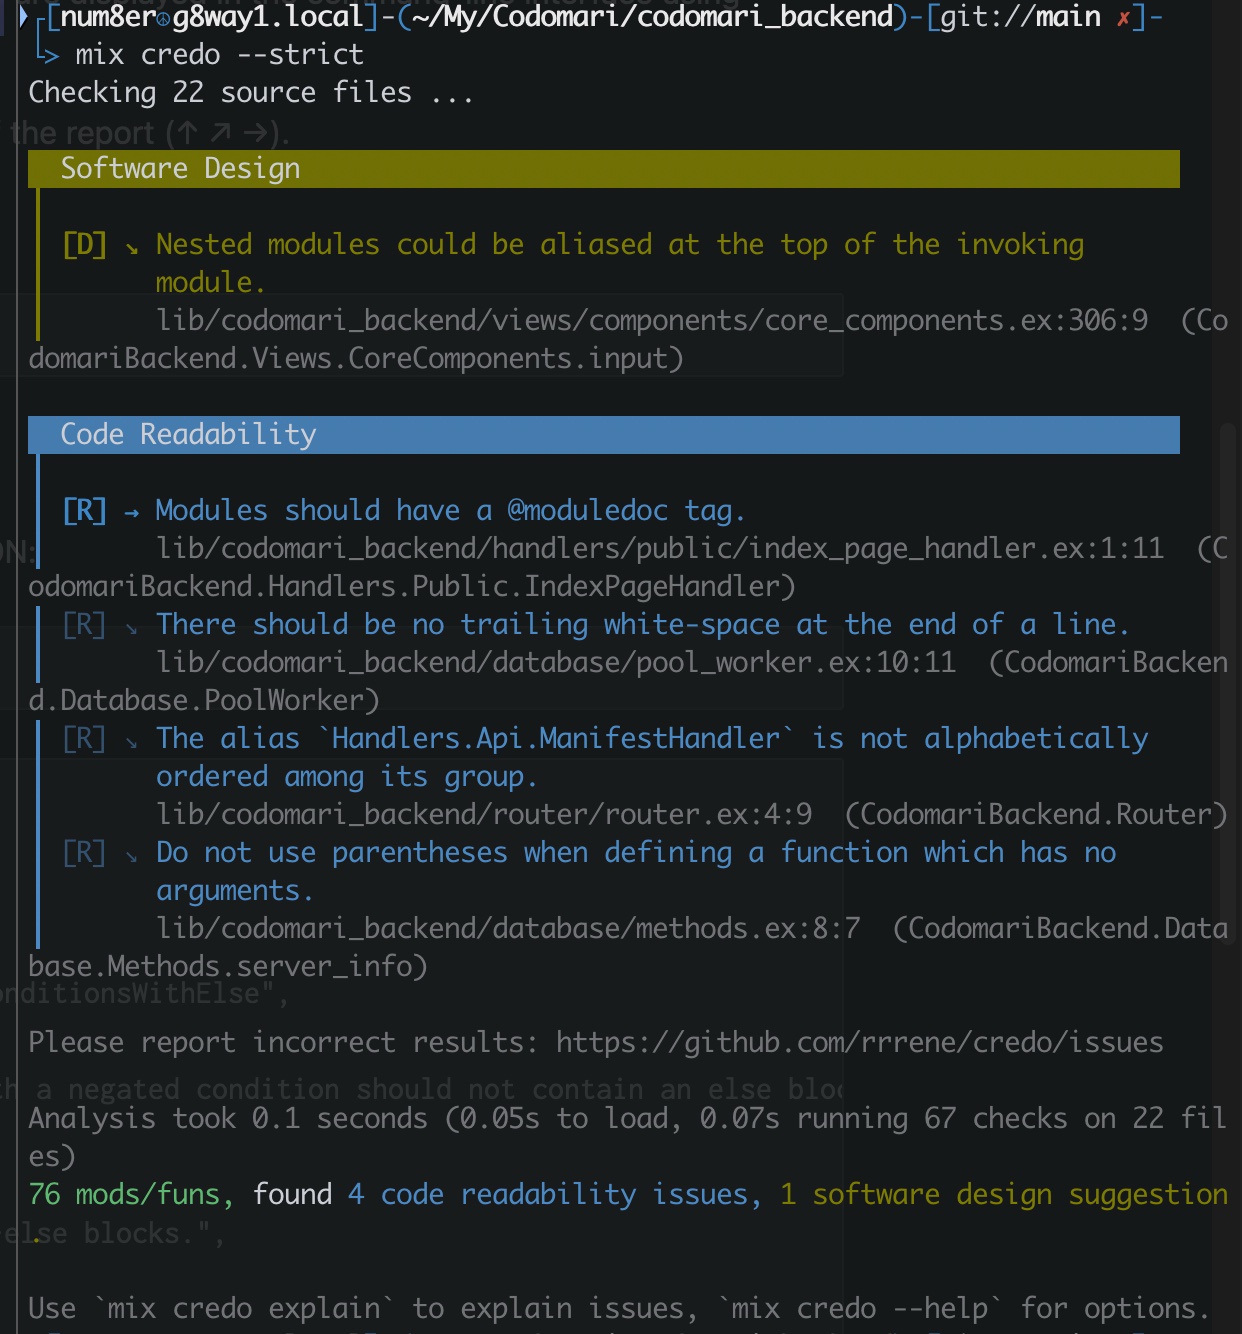
for me --strict flag is enough, cause everything else I need is in Fine tuning section of post.
More about flags here
Fine tuning
Under fine tuning I mean having config file where we can have rules and able to manipulate them.
This command creates config file .credo.exs where we can see more detailed stuff
mix credo gen.config
GIT and hooks
We need to be able to run linter as part of development process and do it as developer tries to commit.
For that case we create folder where we will keep our hooks and store in repo:
mkdir .githooks
git config core.hooksPath .githooks
then create pre-commit hook:
touch .githooks/pre-commit
chmod +x .githooks/pre-commit
with such content:
#!/bin/bash
# Run Credo in strict mode
mix credo --strict
# Capture the exit code
EXIT_CODE=$?
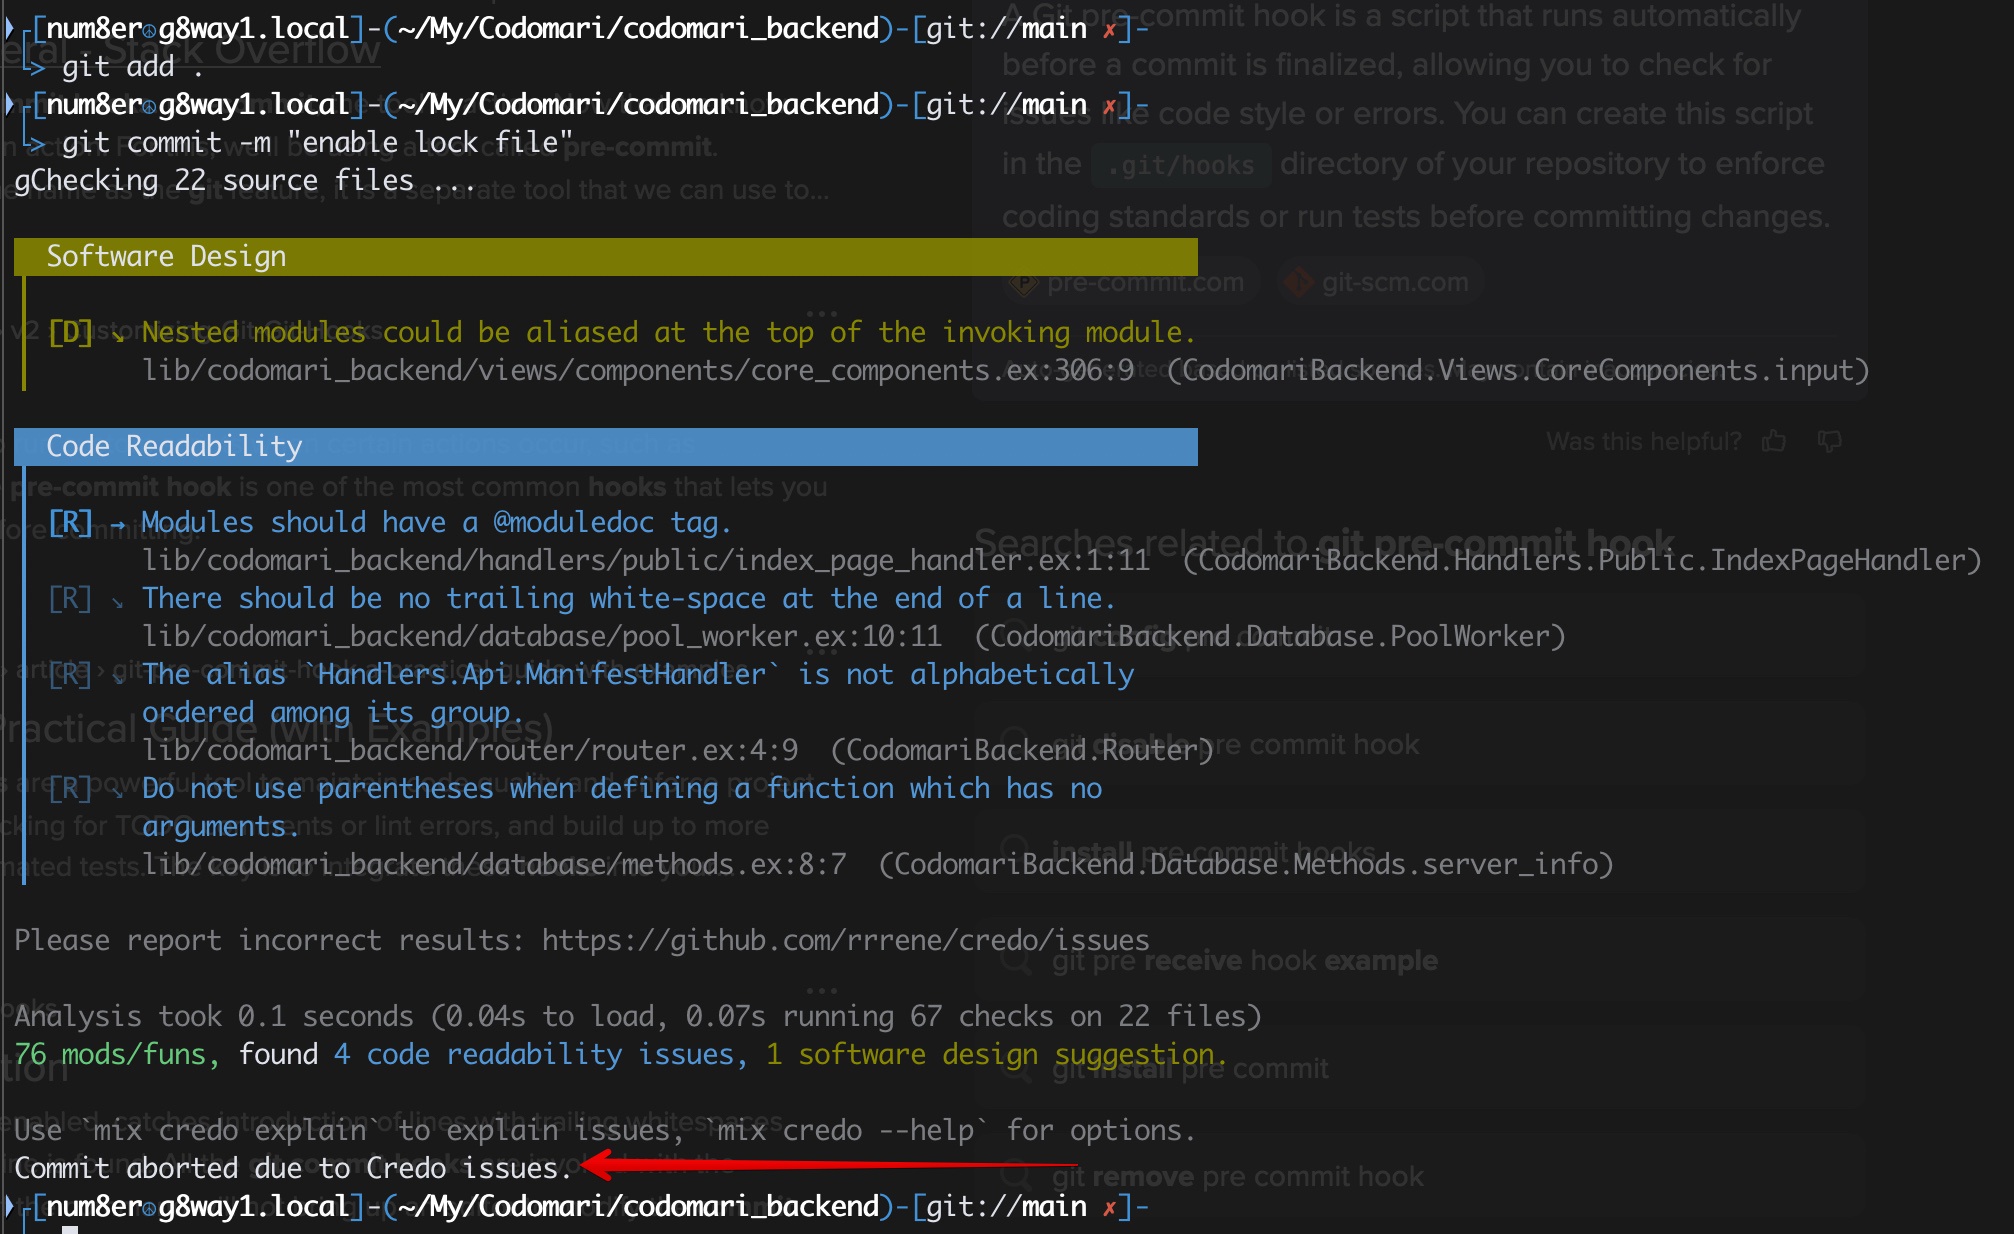
if [ $EXIT_CODE -ne 0 ]; then
echo "Commit aborted due to Credo issues."
exit $EXIT_CODE
fi
exit 0
let’s test our hook
GREAT!!!
let’s do suggested fixtures and run git commit!
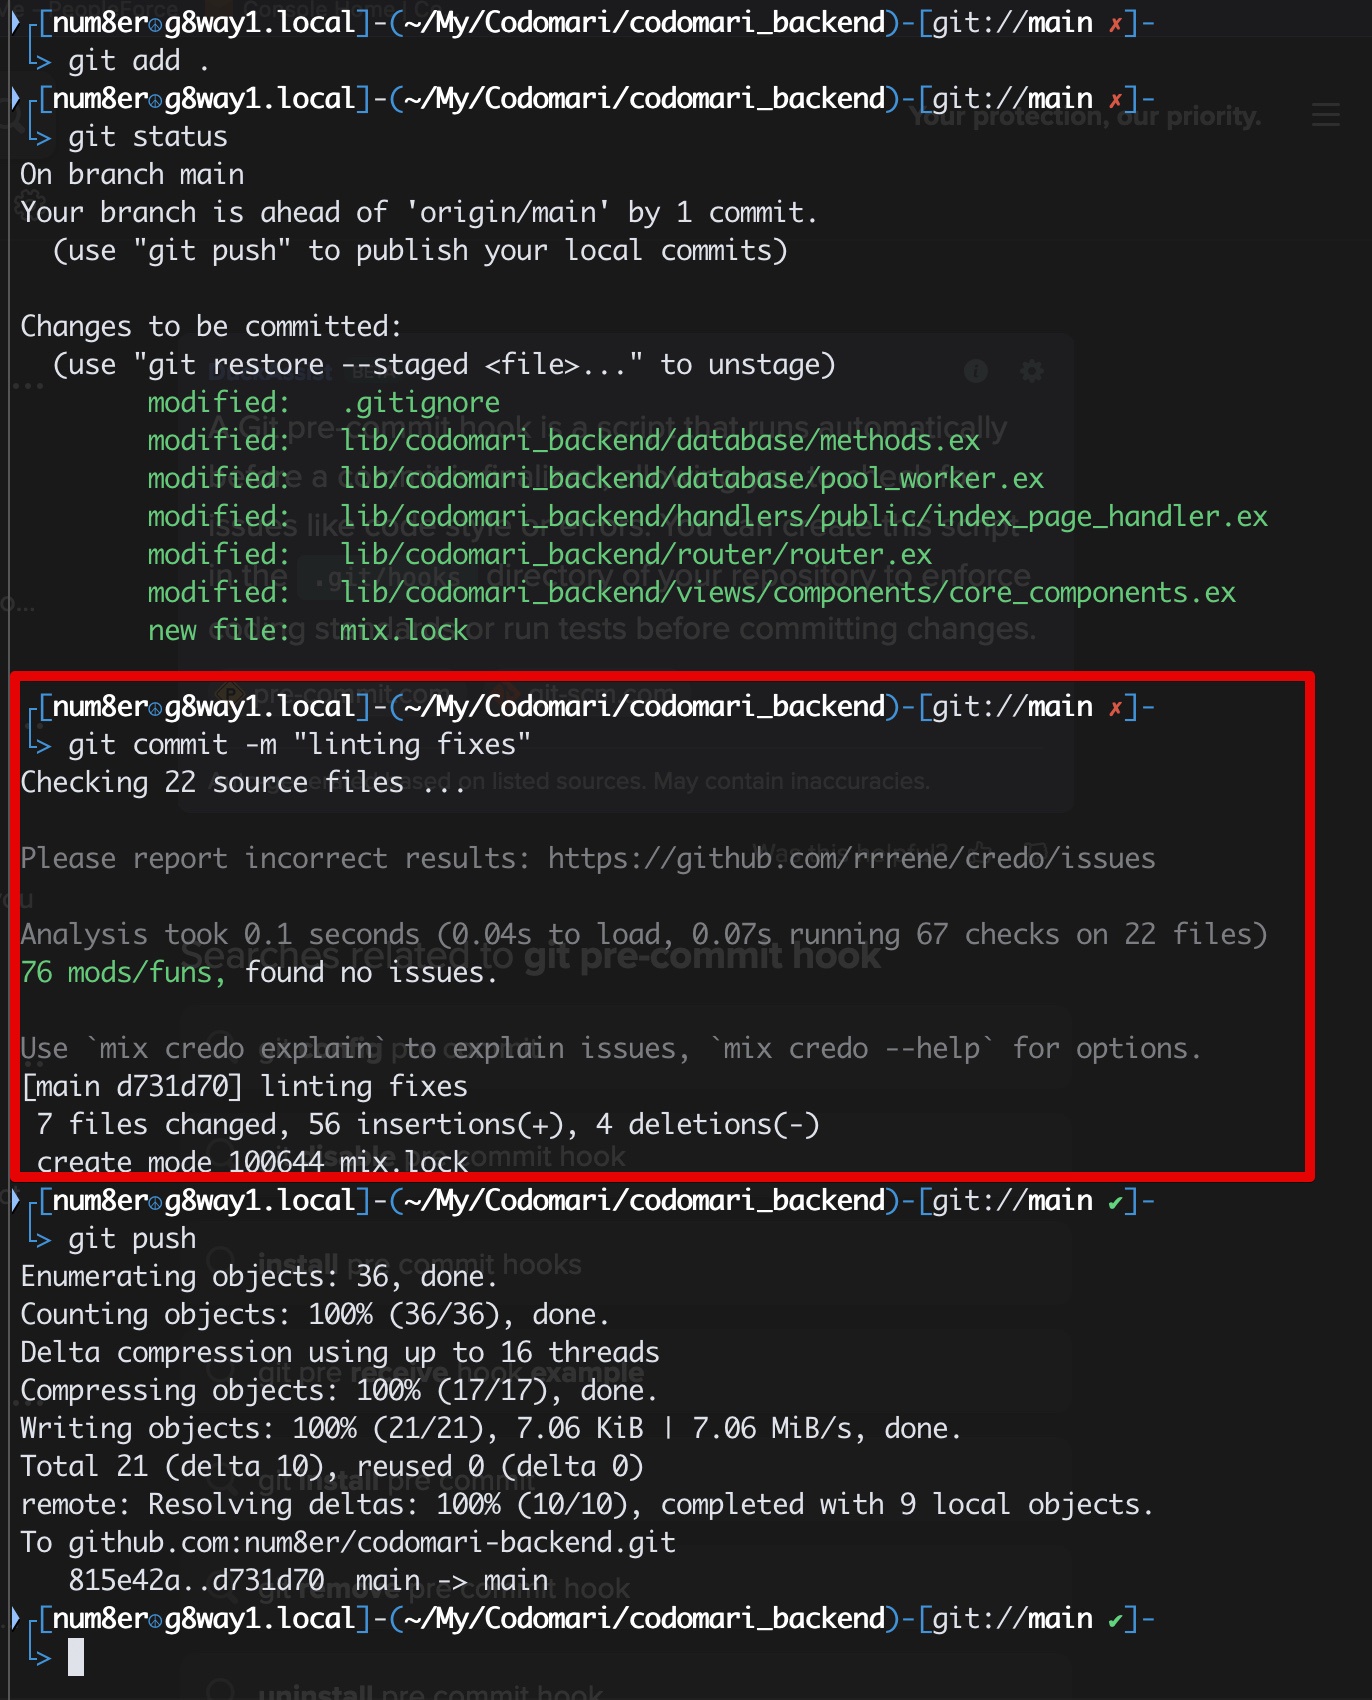
That’s all for now with linting.
In the future I’ll write about how to add linting to CI/CD procedures.
Don’t forget to check repo: https://github.com/num8er/codomari-backend
Talk Soon!